第一部分:用跳绳测试仪解决运动不足问题!
第二部分:用SensorMedal检测跳跃次数并在显示器上显示
第三部分:连接Google Drive,保存并查看跳绳结果
大家好,我是吉田!
本文是制作一款用来解决运动不足问题的跳绳设备项目连载的最后一篇。我们已经成功实现了跳跃次数计数及其数据保存,在这部分中,我们将为这台设备安装一个显示器,让它实现能够激发您动力的有趣显示,以便您可持之以恒地坚持运动。
本部分所需部件
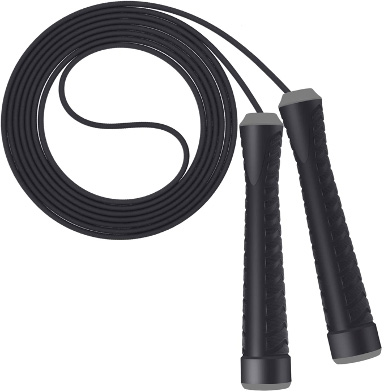
跳绳
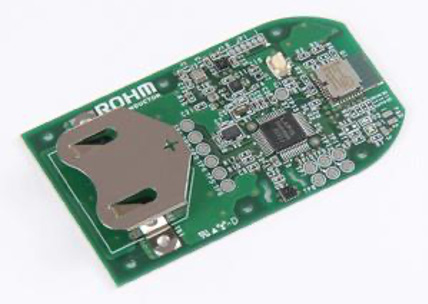
ROHM SensorMedal(SensorMedal-EVK-002)
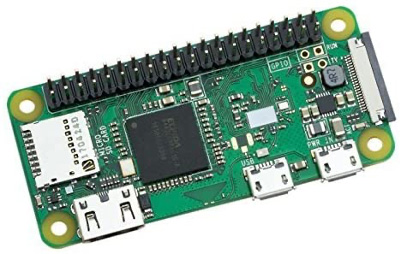
Raspberry Pi zero(Raspberry Pi Zero W)
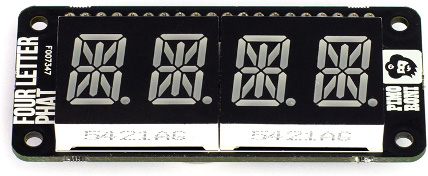
FOUR LETTER LED PHAT
Raspberry Pi4

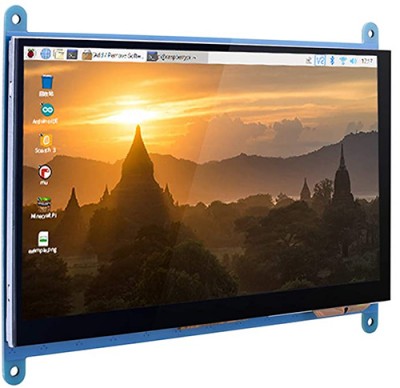
7英寸触控显示器
本部分的流程
1.Raspberry Pi用显示器的设置
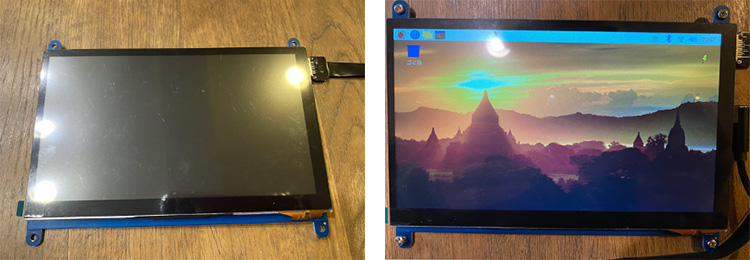
适用于Raspberry Pi的显示器包括下面这款7英寸大小的触控屏。通过HDMI(如果是Raspberry Pi4的话是MicroHDMI)将其与Raspberry Pi连接,即可在大屏幕上显示数据。
我们会用Raspberry Pi创建应用程序,以实现在这个屏幕上显示。为此,我们将使用可以创建桌面应用程序的Tkinter。
首先,安装Tkinter。
$ sudo apt-get install python3-tk
创建可以显示当前时间的程序display.py。
pi@raspizero:~/Programs $ sudo vi display.py

---------
#!/usr/bin/python
# -*- coding: utf-8 -*-
from tkinter import *
from datetime import datetime
from time import sleep

# 创建主窗口
root = Tk()
# 主窗口大小
root.geometry("720x480")
# 主窗口标题
root.title("Clock")

# 创建Canvas
c = Canvas(root, bg="#FFFFFF", width=500, height=480)
c.pack(expand=True, fill='x', padx=5, side='left')

# 创建字符串
cd = c.create_text(350, 180, font=('', 40, 'bold'), fill='black')
ct = c.create_text(350, 280, font=('', 80), fill='black')

# 主窗口的最大化
root.attributes("-zoomed", "1")
# 总是在最前显示
root.attributes("-topmost", False)

def cupdate():

    # 显示当前时间
    now = datetime.now()
    d = '{0:0>4d}年{1:0>2d}月{2:0>2d}日 ({3})'.format(now.year, now.month, now.day, now.strftime('%a'))
    t = '{0:0>2d}:{1:0>2d}:{2:0>2d}'.format(now.hour, now.minute, now.second)
    c.itemconfigure(cd, text=d)
    c.itemconfigure(ct, text=t)
    c.update()
    # 以1秒间隔重复
    root.after(1000, cupdate)

# 注册回调函数
root.after(1000, cupdate)
# 主循环
root.mainloop()
像sudo python3 display.py那样运行这个程序时,会创建一个显示当前时间的桌面应用程序。
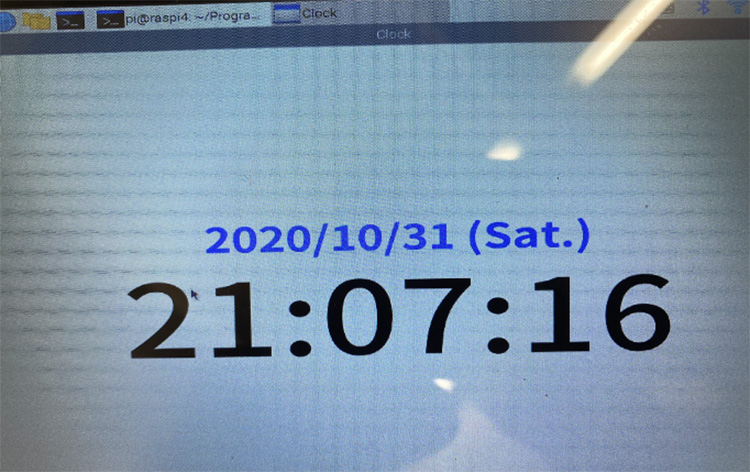
显示时间的桌面应用程序
2. 在屏幕上显示跳绳信息
将显示器与Raspberry Pi连好后,让我们尝试一下在上面显示上次在Google Sheets中记录的跳跃次数吧。
需要能够将Google Sheets中的数据读取到桌面应用程序中。需要显示Google Sheets中的时间、次数和卡路里数据。我们将用来读取Google sheets的程序添加到前面的display.py程序中(用黄色表示增加的描述部分)。
pi@raspizero:~/Programs $ sudo cp display.py jump_display.py
--- 下面的更改或添加部分用黄色表示 ---
#!/usr/bin/env python3
# coding: utf-8
from tkinter import *
---
import gspread
from apiclient import discovery
from oauth2client.service_account import ServiceAccountCredentials
import httplib2
import numpy as np
from datetime import datetime
key_name = "xxx.json" # Use your own information
sheet_id = “yyy” # sheet_id
sheet_name= “zzz”
class SpreadSheet(object):
def __init__(self, sheet_id):
self.sheetId = sheet_id
def search(searchKey):
scope = ['https://spreadsheets.google.com/feeds','https://www.googleapis.com/auth/drive']
credentials = ServiceAccountCredentials.from_json_keyfile_name(key_name, scope)
gc = gspread.authorize(credentials) # 使用JSON密钥文件进行身份验证
wks = gc.open(sheet_name).sheet1 # 打开sheet
records = wks.get_all_values() # 读取内容并保存在数组中
for i in range(1, len(records)): # 仅重复sheet的行数
if records[i][0] == searchKey: # 直到第一列与TerminalID匹配
gdate=records[i][0]
gtime=records[i][1]
gjump=records[i][2]
gdur =records[i][3]
gcal =records[i][4]
print(gdate, gtime, gjump, gdur, gcal)
return gdate, gtime, gjump, gdur, gcal
spread_sheet = SpreadSheet(sheet_id)
---
# 创建字符串
cd = c.create_text(100, 60, font=('', 80,), fill='blue')
ct = c.create_text(100, 120, font=('', 80), fill='red')
---
def cupdate():
totals = spread_sheet.search("Total")
total_count= totals[2]
total_time = totals[3]
jump_text = str(total_count)+”次 "
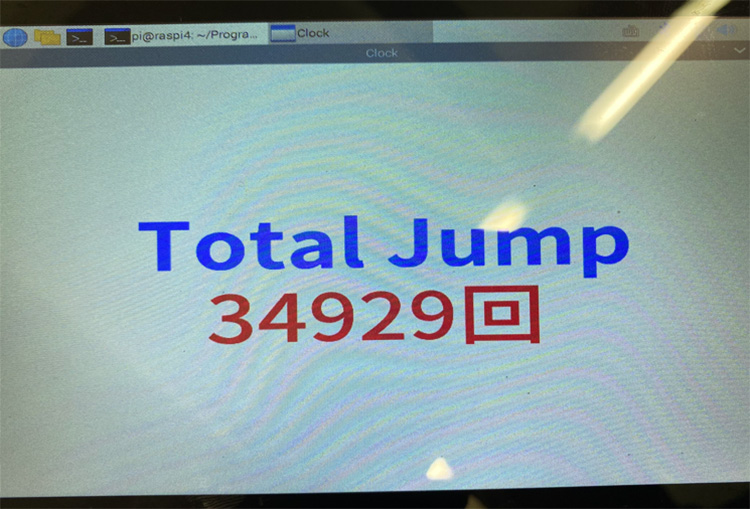
c.itemconfigure(cd, text="Total Jump")
c.itemconfigure(ct, text=jump_text)
c.update()
---
通过运行这个程序,应该能够从Google Sheets中获取总跳跃次数并将其显示在屏幕上。
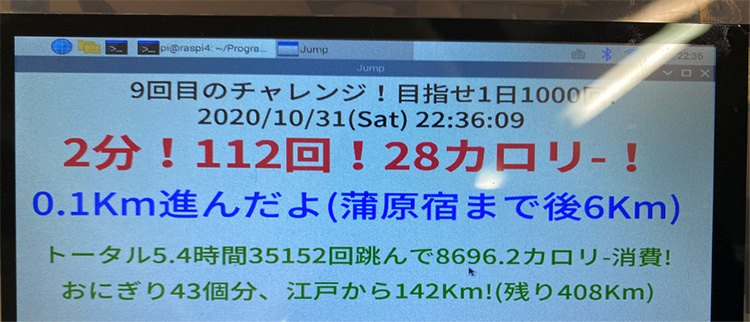
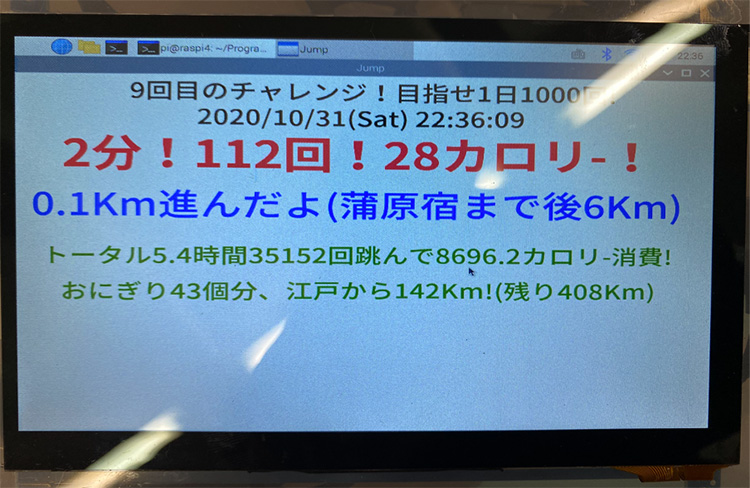
3. 以有趣的方式显示跳跃次数,让动力满满!
最后,让我们把这个带显示器的Raspberry Pi做成平板电脑的样子吧。另外,我们假设跳跃一次相当于走了1m,可以将跳绳比作东海道五十三次徒步,可以看到自己走到哪里了,甚至可以用来和朋友比赛。
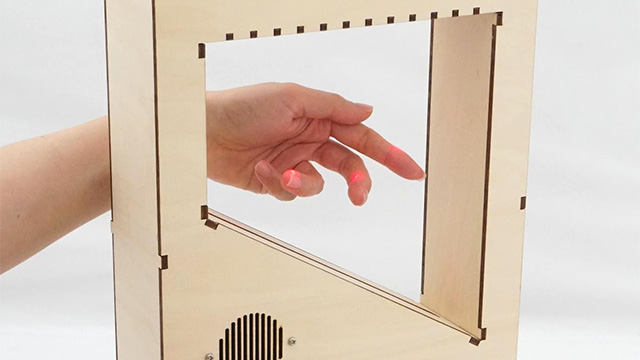
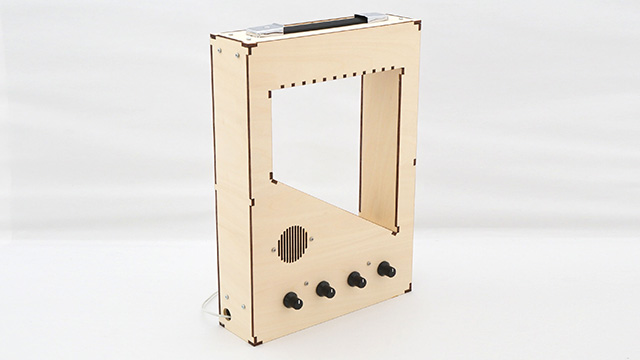
那么,我们先开始“外部装潢”吧。
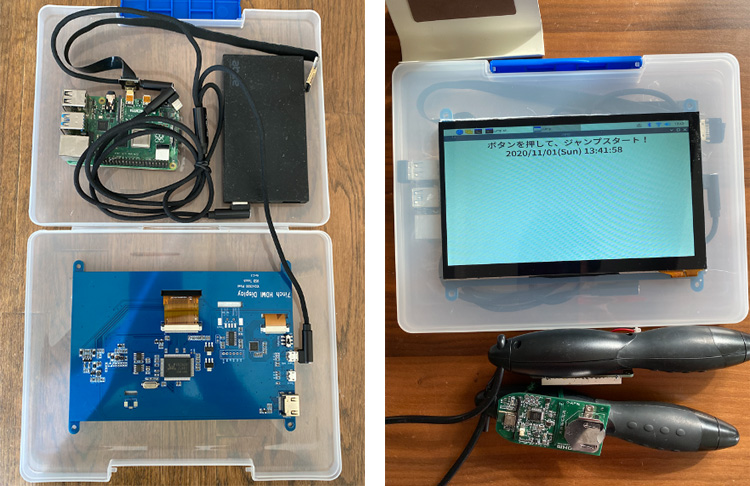
首先,准备一个B5大小的外壳。在外壳上开一个显示器大小的窗口。
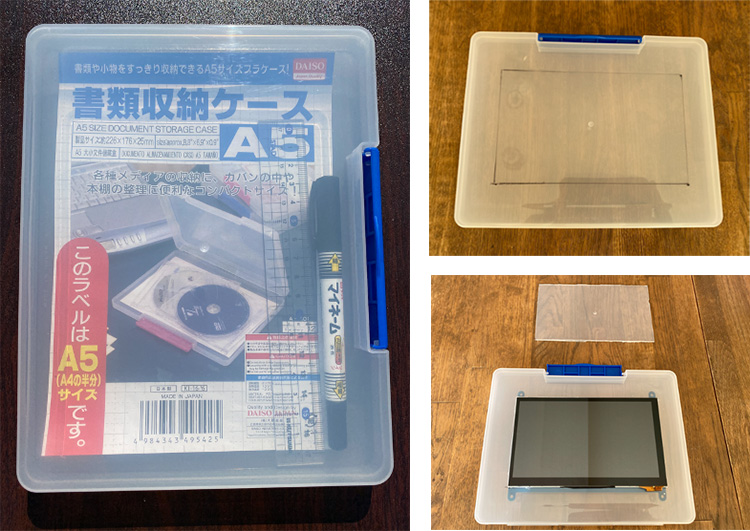
将液晶显示器、Raspberry Pi和移动电源放入外壳中。
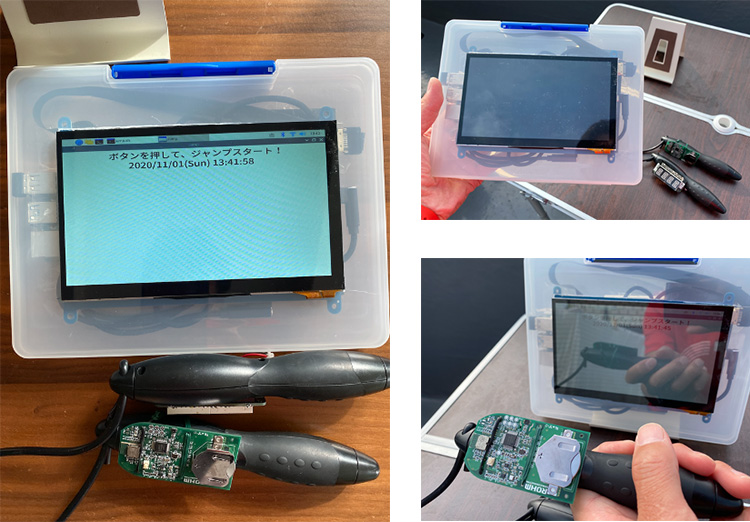
打开电源并确认屏幕显示。

现在外部装潢好了,我创建了一个可以让显示更有趣的程序。我把示例程序放在下面的Github上了,您可以试用一下:
https://github.com/ktrips/jump/blob/master/jump.py
好啦,现在让我们开始跳绳吧。
跳绳后请确认一下数值是否更新了,显示是否改变了。
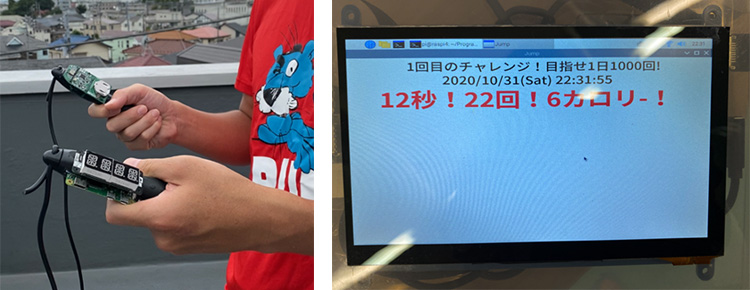
用这种方法保持动力,坚持跳绳是不是变得更容易了?
4. 总结
在本系列连载中,我们使用Raspberry Pi和SensorMedal制作了一款能够将跳绳数字化的物联网设备。
首先,我们在手柄上安装了4位显示器,通过SensorMedal的加速度传感器检测跳跃次数并将数据在显示器上显示出来了。
接下来,我们实现了将跳跃结果发送到Google Sheets,并将其作为历史记录保存下来。还增加了总时间、总次数、卡路里等数据。
最后,我们让这款带有显示器的Raspberry Pi设备能够显示各种信息,以便增加跳绳和运动的动力。这次,我设置的是让跳跃1次相当于步行1m,看看自己最终在所谓的“东海道五十三次徒步”中走了多远,通过这种方式来享受跳绳运动的乐趣。此外,我还用饭团等来显示卡路里量,这也是一种有趣的显示方式。
怎么样,我们是不是创建了一款谁都可以轻松享受跳绳、有助于解决运动不足问题的设备呢?对于越来越喜欢“家里蹲”的人而言,希望这款设备能成为激发您运动健身的转折点!
第一部分:用跳绳测试仪解决运动不足问题!
第二部分:用SensorMedal检测跳跃次数并在显示器上显示
第三部分:连接Google Drive,保存并查看跳绳结果
第四部分:在设备上安装显示器以增加动力!(本章)

吉田 显一(Yoshiken)
在普通公司工作的上班族,非常喜欢创作的周末创客,出版了电子书MESHBOOK,平时也写写博客。
http://blog.ktrips.net